Thursday, August 10, 2017

Buttonhole Eyelet Tutorial

Wow, I am not good at keeping up with this blogging thing. So today I'm going to show you all how to do buttonhole eyelets.

Materials:
Small sewing scissors
Medium - heavyweight fabric
Size US 6 knitting needle
Size US 10 knitting needle
Sewing needle and embroidery thread


1. First mark out, where you want your eyelets. I like them to be an inch apart.


 2. After you mark out the holes, use your scissors to make a starting hole. Do this slowly so you don't lose your grip and accidentally make a rip in the fabric.


3. After the hole is made use the size 6 needle to make the hole bigger. Keep working it through until the whole needle can go through. Repeat with the size 10 needle.


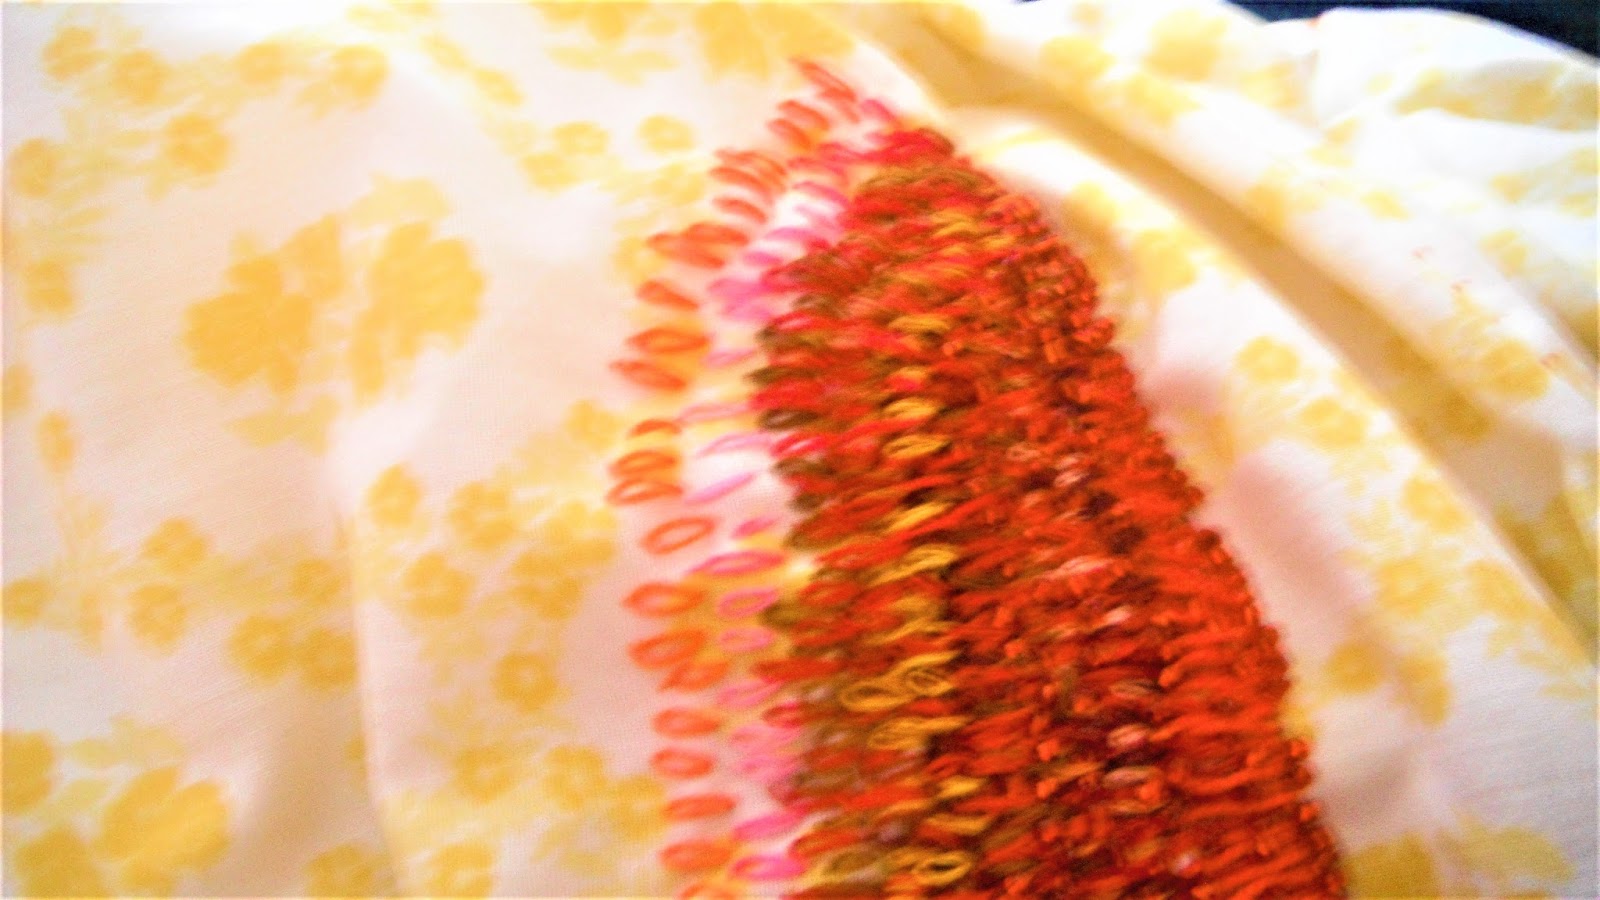
4. When the hole is big enough, sew around it with whip stitch and 3 strands of embroidery floss.


5. After the whip stitch, go around the whole with buttonhole stitch, keeping the stitches close together.


6. You're done!

Thursday, June 29, 2017

Renfest Dress Progress

Hey-o! For the last couple of weeks, I've been working on my Renaissance Festival costume. I've made a few changes to the costume plans. Instead of making a veil I'm going to knit a Tudor style hat, I'm knitting a shawl, I bought a corset belt online, and I'm going to make a cross stitch purse. I also decided that it would be easier to make my main dress in two parts, so it would be quicker to put on.


So far I've finished the shift. I used this pattern for it and I think it turned out really well.

Adding binding to the neckline.

The finished shift before embroidery.

The pattern was easy to make, but the armholes were confusing. I think it was because I was hand sewing, but if you use a sewing machine it would be fine.


I used 1 strand of DMC Black for the embroidery and just did an alternating cross pattern on the cuffs and neck.


I'm almost done with the corset. I decided to not use boning in it because I have never worn a boned corset before and I don't think an all-day festival would be a good place to start. So instead I used heavy weight denim and covered it with the cotton I used for the shift.


After I sewed the layers together, I sewed this cool hook closure tape onto the front opening.


After that, I sewed on quilt binding to the edges.


At the moment, I'm sewing the eyelets and I think I might do a tutorial on it.


So that's about it, thanks for reading and I'll see you next time! 

Monday, June 12, 2017

Progress Report (Sorta)

I'm back! (don't know why I said that, I didn't go anywhere) So in the two months (!) I haven't blogged I have been working on a 1920's inspired dress to wear to my friend's wedding. At the moment, I only have in progress pictures, but hopefully, I'll have pictures of the finished soon.


The infamous embroidered bird.


Close up of the wings.


Adding more colours.


 Part of the tail.


Sewing a tulle overlay.


Adding beads to the neckline.


Sewing tulle to one of the skirt panels.


Thursday, April 20, 2017

Happy Easter/Spring!

Happy Spring! So in honour of the flowers blooming and such, I wanted to post pretty flowerly pastel dresses. (MY GOD that sounds cheesy but it's what's going to happen. So deal.)

DISCLAIMER: I do not own any of these pictures.